


Direct to Film (DTF) transfers revolutionize custom printing by enabling high-quality image reproduction directly from digital files, eliminating traditional methods. Using specialized inkjet technology, DTF applies dye onto transparent film pressed against fabric, paper, or metal for exceptional clarity. Ideal for art reproductions and promotional materials, this versatile process offers endless creative possibilities. Before starting, gather essential materials and prepare artwork in vector graphics format. The process involves selecting a base material, calibrating the printer, heating the design to fuse with the fabric, and proper post-print care for long-lasting prints.
“Unleash your creativity with a Custom Direct to Film Transfer—a powerful way to transform film into stunning digital art. This comprehensive guide breaks down the process step-by-step, from mastering the basics of direct film transfers to gathering essential materials and preparing your film for the transition.
By following these instructions, you’ll learn how to achieve flawless results, ensuring your film’s original quality is preserved. Whether you’re an artist or a film enthusiast, this guide promises to empower you to create unique, custom transfers.”
- Understanding Direct to Film Transfers: Essential Basics
- Gathering Materials and Preparing Your Film
- Step-by-Step Transfer Process: From Start to Finish
Understanding Direct to Film Transfers: Essential Basics
Direct to Film (DTF) transfers offer a cutting-edge method for creating high-quality prints directly from digital files. This process has revolutionized the way artists, designers, and businesses produce custom prints, eliminating the need for traditional printing techniques. With DTF, you can achieve remarkable detail, vibrant colors, and a variety of finish options, making it an excellent choice for everything from art reproductions to promotional materials.
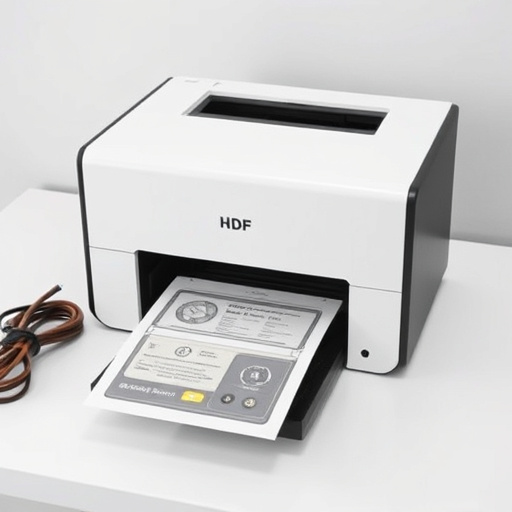
Understanding Direct to Film Transfers involves grasping the technology behind it. A DTF printer uses specialized inkjet technology to apply dye or pigment directly onto a transparent film. This film is then pressed against various types of media, such as fabric, paper, or metal, allowing the image to be transferred with exceptional clarity. The key advantage lies in its versatility; you can create custom designs on a wide range of surfaces, opening up endless possibilities for creative expression and product customization.
Gathering Materials and Preparing Your Film
Before diving into the custom direct to film transfers process, it’s crucial to gather all necessary materials and prepare your film properly. For a successful DTF (Direct to Film) transfer, you’ll require high-quality dtf transfer sheets compatible with your printer, clear film for exposure, and a lightbox or similar setup for precise alignment. Ensure your film is clean, free from scratches or debris, and has been wound correctly onto its spool to avoid streaking or distortion during the transfer process.
Prepare your artwork by ensuring it’s in the correct format (usually vector graphics) and resolution for printing. Trim any unnecessary elements and double-check for color accuracy. Place the film into your lightbox, ensuring it’s flat and secure. Now you’re ready to proceed with the step-by-step transfer process, creating personalized items like direct to film personalized hoodies using DTF technology.
Step-by-Step Transfer Process: From Start to Finish
The process of Custom Direct to Film Transfers (DTF) is an art that transforms your designs into tangible, high-quality products. It begins with a clear understanding of your vision and ends with a physical garment bearing your unique artwork. Firstly, choose your design—whether it’s an intricate illustration or a bold graphic—and prepare it for printing. This involves optimizing the image for the specific material (like fabric) and ensuring it meets the resolution requirements.
Next, select your base material, such as a hoodie, t-shirt, or any other garment suitable for DTF. Then, set up your printer by calibrating it to the material’s properties, including temperature and pressure. Once ready, load the design onto the printer’s roll or plate, depending on the machine. The actual transfer process involves heating the design until it fuses with the material, creating a vibrant, long-lasting print. After cooling, inspect the result for any imperfections, ensuring the colors are true to your design. Finally, launder the garment as per the manufacturer’s instructions to set the ink permanently.
Custom Direct to Film Transfers offer a unique and creative way to preserve memories. By understanding the basics, gathering the right materials, and following a structured process, anyone can successfully embark on this journey. This guide provides a comprehensive step-by-step approach to ensure you achieve flawless results, turning your old films into modern digital masterpieces.